Before you begin migrating assets, be sure you have every in place for a safe migration.
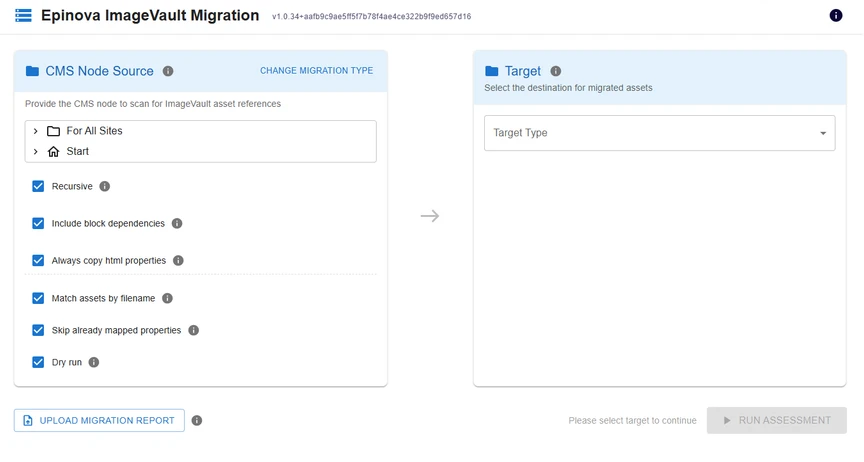
- Perform a "Dry run" with the migration tool to ensure you can connect to all systems. This is available as an option with the tool's UI.
- Migrate a single Optimizely page. Make sure the asset is in the expected target location, the new asset property is populated, and the new asset renders on your site.
Feature Toggle & Rendering
It is a good idea to have some logic in your site that will fall back to your current asset provider if the migration fails, or something is wrong with your new asset provider.
Pseudo code example
// Located in site settings for example
Boolean TryUseCmp { get; }
Boolean ForceUseCmp { get; }

// for each component rendering an image
var cmpImageUrl = string.Empty;

if (ForceUseCmp) {
    // render CMP image
}
else if (TryUseCmp && !ForceUseCmp) {
    cmpImageUrl = GetMyImage(exampleReference)
    // if something goes wrong, fall back to image vault
    if(string.isNullOrEmpty(cmpImageUrl)) {
        // render image vault image
    }
}
else {
    // render image vault image
}
Scaling up the migration
Once you have done some tests with single pages, and have validated all is working as expected, you can start migrating larger sets of content items. Eventually you will be able to migrate all assets from your site with confidence.