For Optimizely CMS 12
1. Install the package
Install the Epinova.CMS.AiAssistant package from the Optimizely nuget feed
2. Register the module
Add the following to Startup.cs
Register AI Assistant in DI container
using Epinova.CMS.AiAssistant;
...
services.AddAiAssistant();
3. Configure license key
Configure the api key for the Ai Assistant add-on in app settings, for instance in appsettings.json
Configure ApiKey
"Epinova": {
    "AiAssistantOptions": {
      "ApiKey": "your-api-key"
    }
}
4. Verify UI integration
After installation and application startup, AI Assistant is available in two distinct UI:
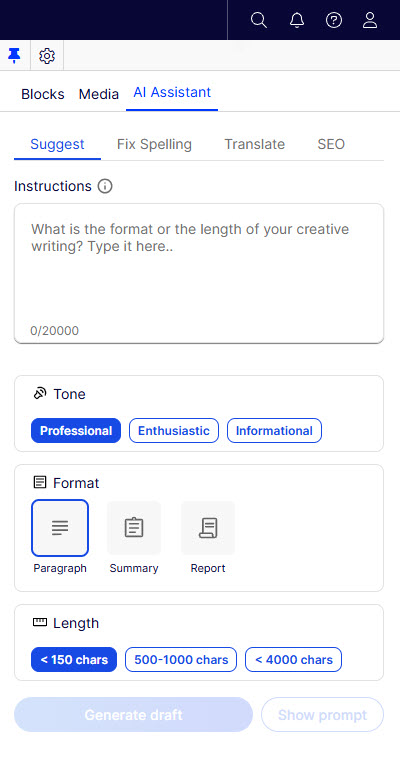
- Editorial gadget: A contextual gadget embedded directly within the Editorial UI. This provides in-place AI assistance for content editors, enabling tasks such as generating metadata, alt text, or summaries while editing content.
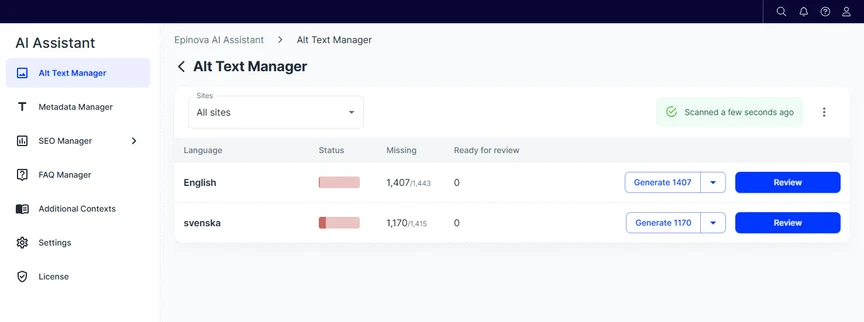
- Manager interface (Under the Add-ons menu): Accessible from the Optimizely add-on menu, this serves as the centralized management interface for AI-driven operations across the site. It includes:
- Alt Text Manager - Bulk generation and management of image alt text
- Metadata Manager - AI-assisted generation and maintenance of SEO metadata
- FAQ Manager - Creation and management of FAQ content using AI
- SEO Manager - Tools for improving and auditing SEO-related content
- Settings - Configuration for AI Assistant such as AI Service Connector (restricted to administrators)
Permissions
By default, access to AI Assistant is controlled via roles:
AI Assistant gadget (Editorial UI) and Manager UI (Add-ons menu)
Users must belong to at least one of the following roles:
- WebEditors
- CmsEditors
- WebAdmins
- CmsAdmins
- Administrators
Settings (Manager UI)
Access to the Settings section is restricted to administrative roles only:
- WebAdmins
- CmsAdmins
- Administrators
Customizing access roles
These role mappings are fully configurable during service registration. You can override the default roles by specifying custom role sets:
Example: Configure access and admin roles
services
    .AddAiAssistant(options =>
    {
        options.AiAssistantOptions.AccessRoles = "WebEditors, WebAdmins, Administrators";
        options.AiAssistantOptions.AdminAccessRoles = "WebAdmins, Administrators";
    });
- AccessRoles controls access to both the editorial gadget and the manager UI
- AdminAccessRoles controls access to the Settings section