Automate setting up your Episerver/Optimizely environment in Microsoft Azure
How you can automate setting up a new Episerver/Optimizely environment in Microsoft Azure.
It is tedious and error prone to manually setting up new environments, specifically it if was some time since you last did so. Depending how often you create new sites, it’s quite easy to forget how you did it last time etc. and it’s also very easy to select more powerful resources that what’s really needed, which can have a large impact in your monthly costs.
At Epinova we now and then create a development environment for our customer projects in Microsoft Azure. Instead of manually creating a resource group and the needed resources manually we created some scripts to automate this. With very little PowerShell code we can generate a new resource group in Azure with a web application, SQL server, database, service bus and storage account with 2 containers very fast and simple.
The main components to do this is an ARM template and a PowerShell module. The ARM template is a JSON manifest that Azure Portal use to know what resources that should be created including parameters for the resources. The PowerShell module contains some simple functions that can be used to create resource group (and all the resources within it) and then also get connection strings for the resource group to the database, the service bus (used for cache invalidation) and the storage account (blob storage). After that it is simple to add these connection strings your web.config file in you project. I don't know how many times I have been clicking around in Azure portal and looking for these connection strings.
Ok, let’s create some…
Prerequisite
PowerShellGet
Since PowerShell Gallery is involved, you need to have PowerShellGet installed. Instructions how to install PowerShellGet.
Azure PowerShell
You need to have Azure PowerShell installed. How to install Azure PowerShell.
SubscriptionId
You need to have the SubscriptionId from your Azure Portal so that the script knows where you want to create your resource group. Note that you may have more then one Subscription in your Azure Portal so you need to know which one you want to use. I will describe 2 ways to retrieve this information.
Using PowerShell
You can use the PowerShell prompt and write “Get-AzSubscription”. A list of your subscriptions will be presented for you. Select the one where you want the new resource group to be created in.
More information about the Get-AzSubscription function.
Manually
Microsofts description how to get your Azure subscription id.
Database password
Generate a new password that you will use for this new SqlServer/Database. Make sure that you also store this password in a good place so that you and your colleagues can get this later if needed. Also make sure that you follow Microsoft Password Policy in AzureAD.
Creating a resource group
- First open up PowerShell prompt as an administrator. You can also use PowerShell ISE.
- Start type “
Set-ExecutionPolicy -Scope CurrentUser Unrestricted”. This is to remove warnings if your environment does not trust these scripts. - Then install the EpinovaAzureToolBucket. “
Install-Module EpinovaAzureToolBucket -Scope CurrentUser -Force” - Now it’s time to create the actual resource group. I will copy the example from our GitHub repository, just add your data into the example. Don't put in any special characters and stuff in the resource group name. It could end up with errors because of the Azure portal naming convention.
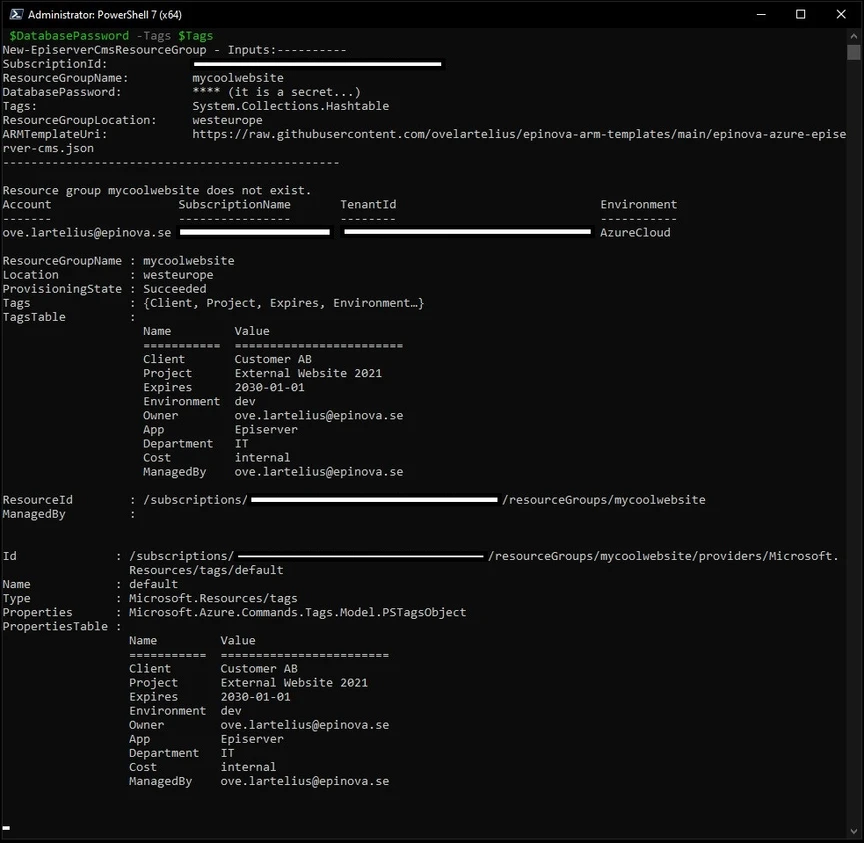
Note: Storage account name must be between 3 and 24 characters in length and use numbers and lower-case letters only. And because of we are using the resource group name to create the storage account you should follow this naming convention for resource group name also.$SubscriptionId = "95a9fd36-7851-4918-b8c9-f146a219982c"$ResourceGroupName = "mycoolwebsite"$DatabasePassword = "KXIN_rhxh3holt_s8it"$Tags = @{"Environment"="dev";"Owner"="ove.lartelius@epinova.se";"App"="Episerver";"Client"="Customer AB";"Project"="External Website 2021";"ManagedBy"="ove.lartelius@epinova.se";"Cost"="internal";"Department"="IT";"Expires"="2030-01-01";}New-EpiserverCmsResourceGroup -SubscriptionId $SubscriptionId -ResourceGroupName $ResourceGroupName -DatabasePassword $DatabasePassword -Tags $Tags
My prompt look like this now:
- After pushing the enter button the script will start to create the resource group. The first thing that will happened is that your browser will popup so that you can identify yourself against the Microsoft Azure Portal.
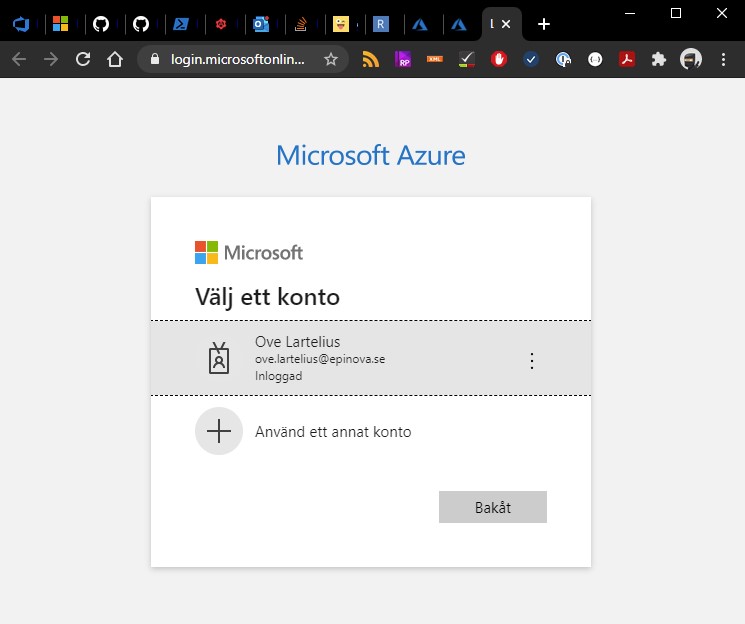
When done you can close the tab in your browser:
- The script is now executing, and it may take a couple of minutes to setup all the resources. If you get any errors, please read the messages and make sure that you have not used a week password etc. Usually, it’s your input parameters that are wrong and that prevents Azure to create the resources. If you get an error and want to run again: my recommendation is to go to the Azure Portal and delete the resource group and start the script again with updated params.
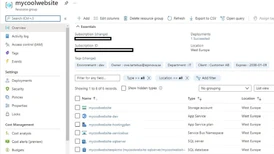
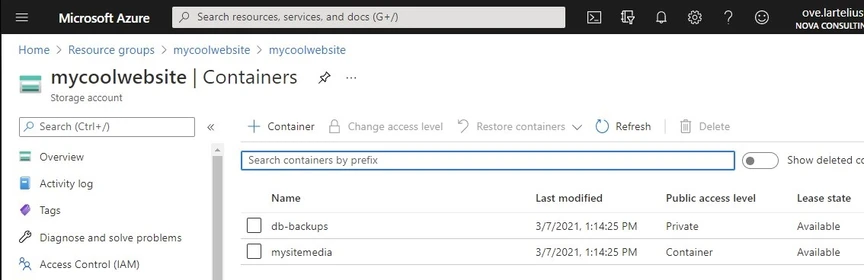
- Once the script is done you should successfully have created the resource group.

In Azure portal you can see that all the resources have been created. You can start searching for the new resource group.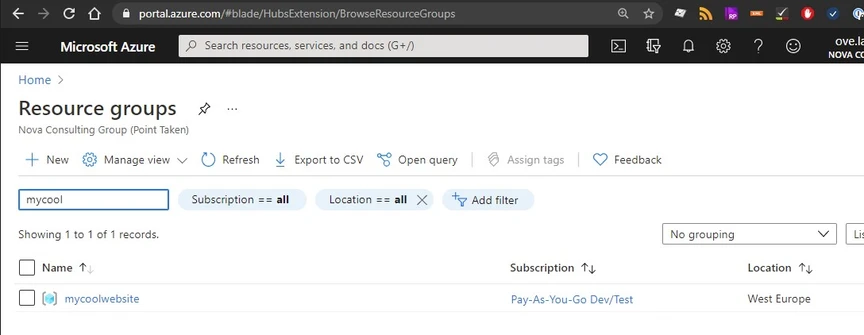

- Now we can do the last step: retrieving the connection strings for the database, service bus and storage account. This is done by writing “
Get-EpiserverCmsConnectionStrings -SubscriptionId ‘’ -ResourceGroupName ‘mycoolwebsite’ -DatabasePassword ‘KXIN_rhxh3holt_s8it’”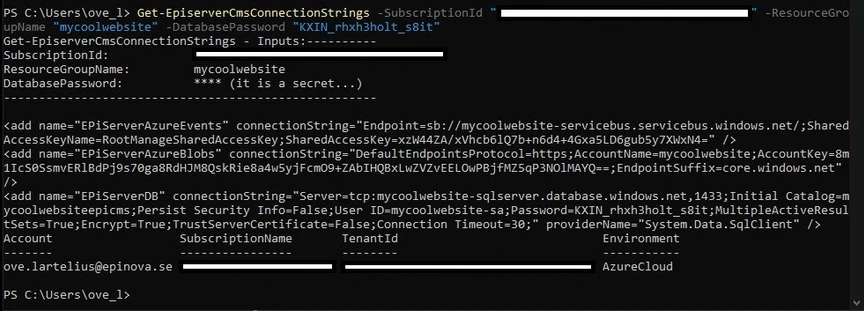
You can now copy and paste this information to your web.config file.
More advanced stuff
Use your own ARM template!
If you don't want to use the Epinova ARM template that is used by default, you can always take a copy of the https://raw.githubusercontent.com/Epinova/EpinovaAzureToolBucket-psmodule/main/ArmTemplates/epinova-azure-basic-episerver-cms.json and make your own ARM template. You can now specify your own ARM template when execute New-EpiserverCmsResourceGroup with the parameter: “-ArmTemplateUri = ‘https://raw.githubusercontent.com/yourrepository/arm-templates/main/azure-episerver-cms.json’”
ResourceGroupLocation
The default setting for this is westeurope but you can specify another location by using the “-ResourceGroupLocation” parameter.
Hint: You can use “Get-AzLocation | Format-Table” to get a list of all available locations that you can specify as location.
Outro
I hope that this will help many of you out there creating a new resource group for Episerver/Optimizely CMS. Make sure to visit our documentation for latest functions and features.
You can find the documentation for the EpinovaAzureToolBucket module and ARM templates in our GitHub repo. https://github.com/Epinova/EpinovaAzureToolBucket-psmodule
Happy coding!

Vi vill gärna höra vad du tycker om inlägget